Reviving a Nintendo Switch Joy-Con: A Bumper’s Journey Back to Life
My Nintendo Switch Joy-Cons have seen their fair share of button-mashing action over the years. Recently, I ran into a frustrating issue: the right bumper on one of my Joy-Cons decided to give up the ghost. No amount of pressing or prodding would bring it back. As someone who enjoys tinkering and repairing electronics, I saw this as an opportunity to dive into the inner workings of the Joy-Con and bring it back from the brink.
The Problem
The R bumper button had become completely unresponsive. After some research, I discovered this is a fairly common issue, often caused by wear and tear or accidental damage. The small tactile switch underneath the bumper is prone to failure, requiring replacement.
The Repair Process
This repair wasn’t for the faint of heart, as it involved some delicate soldering work. Here’s a breakdown of the steps I took:
- Disassembly: I carefully disassembled the Joy-Con, taking note of all the screws and ribbon cable connections. There are plenty of excellent guides and videos online that walk you through this process, which I highly recommend consulting, especially iFixIt.
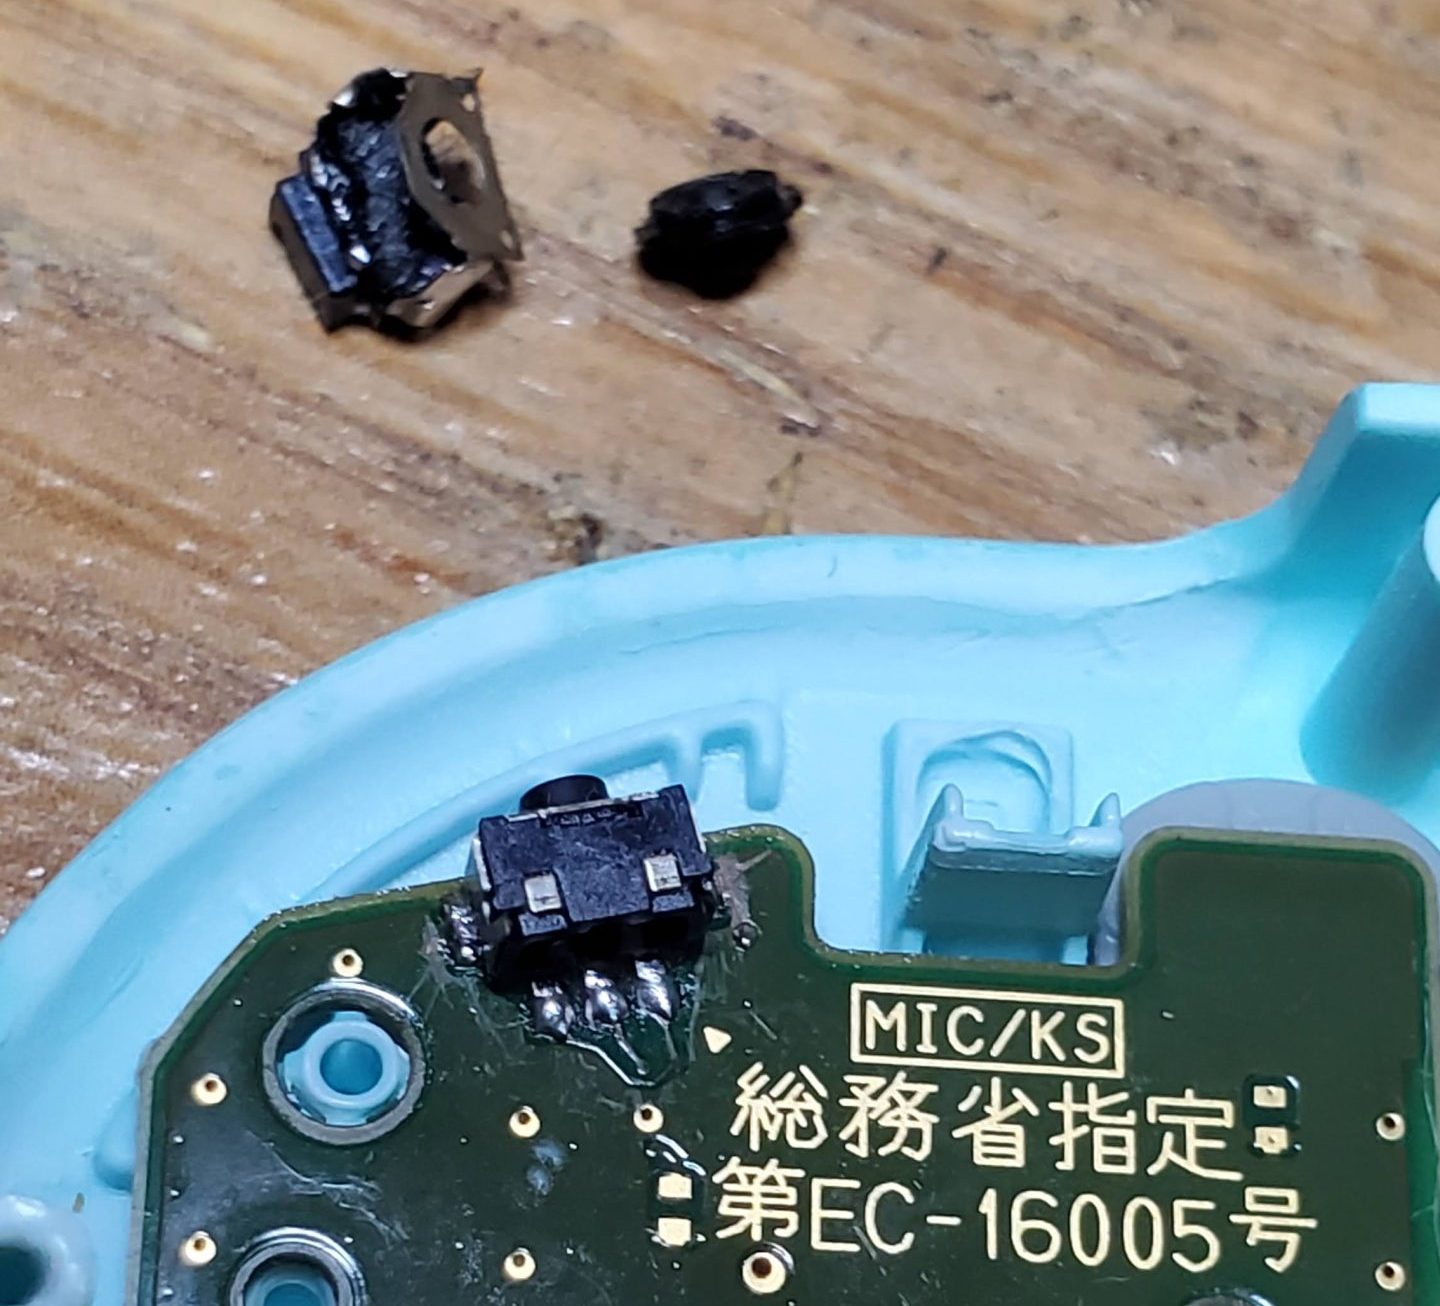
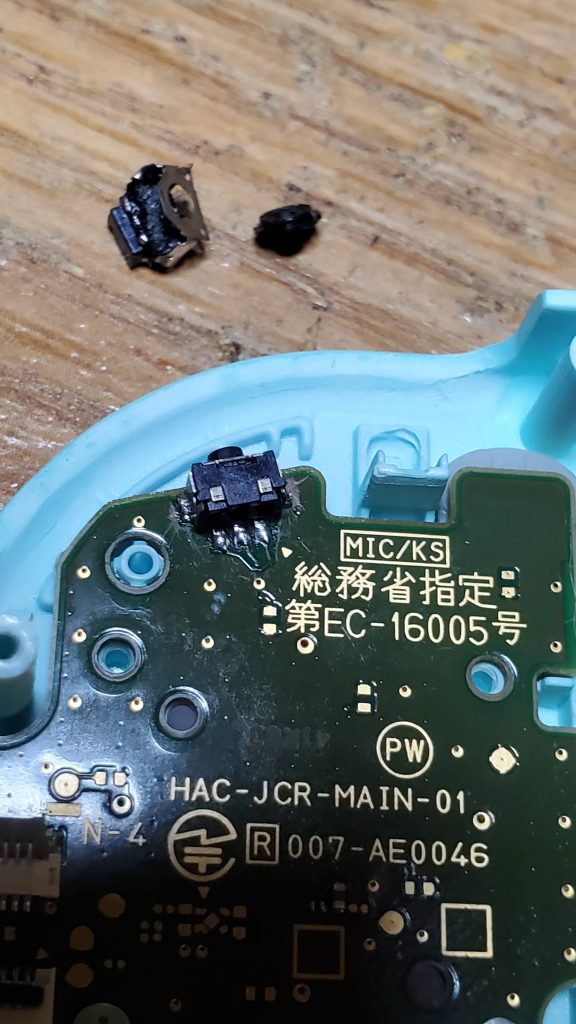
- Desoldering: Using a soldering iron and some desoldering braid, I carefully removed the old, faulty tactile switch from the circuit board. This required a steady hand and some patience to avoid damaging the surrounding components.
- Soldering: With the old switch removed, I soldered the new replacement switch into place. Ensuring proper alignment and clean solder joints is crucial for a successful repair.
- Reassembly: After testing the new bumper with a multimeter to ensure it was working correctly, I carefully reassembled the Joy-Con, making sure all the ribbon cables were securely connected and all the screws were tightened.
Lessons Learned
- Soldering small components requires practice and precision. If you’re new to soldering, I recommend practicing on some scrap electronics before attempting this repair.
- Proper tools are essential. A decent quality soldering iron, desoldering braid, and small screwdrivers make the job much easier. My iFixIt screwdriver kit has been a life saver!
- Patience is key. Take your time and don’t rush the process. It’s easy to make mistakes if you’re not careful.
The Result
After all the work, I’m happy to report that the Joy-Con is as good as new! The bumper works perfectly, and it feels incredibly satisfying to have brought it back to life. This repair not only saved me the cost of a new Joy-Con but also gave me a valuable learning experience.
Longevity
It’s worth noting that this repair was done three years ago, and the Joy-Con is still going strong. This demonstrates the effectiveness of the repair and the quality of the replacement part.
Conclusion
This Joy-Con repair was a challenging but ultimately rewarding experience. It reinforced my belief that with a little patience and the right tools, many electronic devices can be repaired rather than replaced. By sharing my experiences, I hope to inspire others to take on similar projects and learn more about the technology that surrounds us.
Leave a Reply